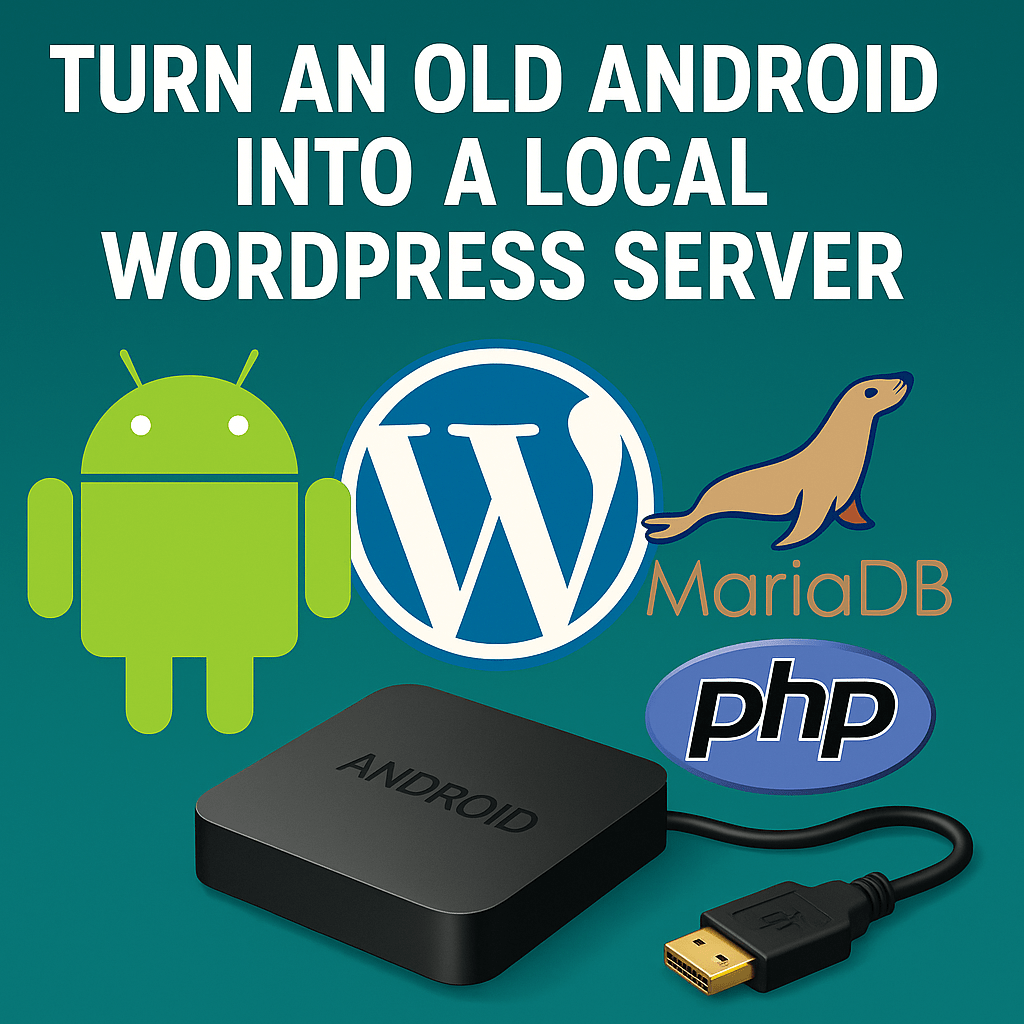
This guide walks you step-by-step from a fresh Android device to a working local
WordPress site powered by Termux, Nginx, PHP-FPM, and MariaDB.
It also covers autostart on boot, keeping the device awake, using a USB SSD for media,
and enabling Redis object cache. Tested on phones and Android TV boxes.
What You’ll Need
- Android 7.0+ device (phone/tablet/TV box). More RAM/CPU = better.
- Wi-Fi and power supply (keep the device plugged in).
- Termux (from F-Droid) + optional Termux:Boot (also from F-Droid).
- Optional: MacroDroid or Tasker (from Google Play) if your ROM blocks Termux:Boot.
- Optional: USB SSD (for media storage).
0) Install Termux and Basic Setup
pkg update && pkg upgrade -y
termux-setup-storage
Optional SSH access:
pkg install openssh -y
passwd
sshd   # default port 8022
1) Install the Web Stack
pkg install nginx php php-fpm php-mysqli php-curl php-gd php-mbstring php-xml php-zip mariadb unzip wget nano -y
2) Start PHP-FPM (UNIX socket)
php-fpm
# FPM default socket (Termux):
# /data/data/com.termux/files/usr/var/run/php-fpm.sock
3) Minimal Nginx Config (port 8080, WordPress-ready)
Edit $PREFIX/etc/nginx/nginx.conf:
worker_processes  1;

events { worker_connections 1024; }

http {
    include       mime.types;
    default_type  application/octet-stream;
    sendfile on;
    keepalive_timeout 65;
    gzip on;
    gzip_types text/plain text/css application/json application/javascript application/xml image/svg+xml;

    server {
        listen 8080;
        server_name mysite.loc;
        root /data/data/com.termux/files/usr/share/nginx/html;
        index index.php index.html;

        location / { try_files $uri $uri/ /index.php?$args; }

        location ~ \.php$ {
            include fastcgi.conf;
            fastcgi_pass unix:/data/data/com.termux/files/usr/var/run/php-fpm.sock;
            fastcgi_index index.php;
        }

        client_max_body_size 64m;

        error_page 500 502 503 504 /50x.html;
        location = /50x.html { root /data/data/com.termux/files/usr/share/nginx/html; }
    }
}
Reload Nginx:
pkill nginx 2>/dev/null
nginx
4) Quick PHP Test
echo "<?php phpinfo(); ?>" > $PREFIX/share/nginx/html/index.php
Open: http://<DEVICE_IP>:8080/ — you should see the PHP info page.
5) MariaDB: Initialize, Start, Create DB/User
# Initialize once (if the datadir is empty)
mariadb-install-db

# Start server in background
mysqld_safe --socket=$PREFIX/var/run/mysqld.sock &

# Create DB and user
mariadb -u root -h 127.0.0.1 -e "CREATE DATABASE my_db_name CHARACTER SET utf8mb4 COLLATE utf8mb4_unicode_ci;"
mariadb -u root -h 127.0.0.1 -e "CREATE USER IF NOT EXISTS 'my_wp_user'@'localhost' IDENTIFIED BY 'my_wp_password';"
mariadb -u root -h 127.0.0.1 -e "GRANT ALL PRIVILEGES ON my_db_name.* TO 'my_wp_user'@'localhost'; FLUSH PRIVILEGES;"
6) Download and Deploy WordPress
cd $PREFIX/share/nginx/html
rm -rf *
wget https://wordpress.org/latest.zip
unzip -q latest.zip
mv wordpress/* .
rmdir wordpress
rm latest.zip
7) wp-config.php (DB, Site URL/Port, Table Prefix)
Copy sample and edit:
cp wp-config-sample.php wp-config.php
nano wp-config.php
<?php
define('DB_NAME', 'my_db_name');
define('DB_USER', 'my_wp_user');
define('DB_PASSWORD', 'my_wp_password');
define('DB_HOST', '127.0.0.1');       // TCP avoids socket path issues

define('WP_HOME', 'http://mysite.loc:8080');
define('WP_SITEURL', 'http://mysite.loc:8080');

define('DB_CHARSET', 'utf8mb4');
define('DB_COLLATE', '');

$table_prefix = 'web_';  // use your actual dump/table prefix (default is 'wp_')
Local “pretty” domain
Add to your PC’s hosts file (no port support in hosts):
192.168.31.50 mysite.loc
Open the site at http://mysite.loc:8080/. (Use your device’s IP; best is to reserve an IP on your router.)
8) Keep It Awake & Autostart on Boot
Prevent sleep
pkg install termux-api -y
termux-wake-lock
Autostart services via start.sh (with process checks)
Create ~/.termux/boot/start.sh:
mkdir -p ~/.termux/boot
nano ~/.termux/boot/start.sh
#!/data/data/com.termux/files/usr/bin/bash
termux-wake-lock
mkdir -p "$PREFIX/var/run"

# Wait up to 30s for external SSD app-folder (optional)
UPLOADS_SSD="/storage/A077-00B4/Android/data/com.termux/files/wp-uploads"
for i in $(seq 1 30); do [ -d "$UPLOADS_SSD" ] && break; sleep 1; done

# Services (start only if not running)
pgrep sshd          >/dev/null || sshd
pgrep redis-server  >/dev/null || redis-server --daemonize yes
pgrep mysqld        >/dev/null || mysqld_safe \
  --datadir="$PREFIX/var/lib/mysql" \
  --socket="$PREFIX/var/run/mysqld.sock" \
  --pid-file="$PREFIX/var/run/mysqld.pid" &
pgrep php-fpm       >/dev/null || php-fpm
pgrep nginx         >/dev/null || nginx
chmod +x ~/.termux/boot/start.sh
If your ROM blocks Termux:Boot
Use MacroDroid: Trigger = Device Boot → Action = Launch App: Termux. Then add this to ~/.bash_profile:
nano ~/.bash_profile
# Run start.sh once Termux opens (only if php-fpm not running)
pgrep php-fpm >/dev/null || bash ~/.termux/boot/start.sh
9) Store Media on USB SSD (uploads only, safe & large)
Android allows write access for apps only in their app-specific folder on removable storage.
Create a uploads dir on SSD and symlink WordPress uploads to it:
# WordPress root
cd $PREFIX/share/nginx/html

# App-specific folder on SSD (replace A077-00B4 with your volume UUID)
mkdir -p /storage/A077-00B4/Android/data/com.termux/files/wp-uploads
touch    /storage/A077-00B4/Android/data/com.termux/files/wp-uploads/.ok

# Link uploads
[ -d wordpress/wp-content/uploads ] && rm -rf wordpress/wp-content/uploads
ln -s /storage/A077-00B4/Android/data/com.termux/files/wp-uploads wordpress/wp-content/uploads
10) (Optional) Redis Object Cache
pkg install redis php-redis -y
redis-server --daemonize yes
Add to wp-config.php:
define('WP_CACHE', true);
define('WP_REDIS_HOST', '127.0.0.1');
define('WP_REDIS_PORT', 6379);
define('WP_REDIS_CLIENT', 'phpredis');
Install and enable the plugin:
curl -O https://raw.githubusercontent.com/wp-cli/builds/gh-pages/phar/wp-cli.phar
chmod +x wp-cli.phar && mv wp-cli.phar $PREFIX/bin/wp
cd $PREFIX/share/nginx/html
wp plugin install redis-cache --activate
wp redis enable
wp redis status
Verify from Termux:
redis-cli ping
redis-cli monitor     # refresh a WP page; you should see GET/SET
11) Quick Backup Script (mysqldump)
Create ~/backup.sh:
#!/data/data/com.termux/files/usr/bin/bash
DB_NAME="my_db_name"
DB_USER="root"
DB_HOST="127.0.0.1"
BACKUP_DIR="/data/data/com.termux/files/usr/share/nginx/html"
DATE=$(date +"%Y-%m-%d_%H-%M-%S")
FILE="$BACKUP_DIR/dump-$DATE.sql"
mysqldump -u "$DB_USER" -h "$DB_HOST" "$DB_NAME" > "$FILE"
[ $? -eq 0 ] && echo "Backup: $FILE" || echo "Backup failed"
chmod +x ~/backup.sh
~/backup.sh
Troubleshooting Cheatsheet
- Nginx: “server directive is not allowed here” — your
server {}must be insidehttp {}innginx.conf. - 500 + “Faithfully yours, nginx.” — PHP-FPM not reached. Ensure
fastcgi_pass unix:/data/.../php-fpm.sockmatches FPM socket and thatphp-fpmis running. - MySQL “No database selected” during import — import into a selected DB:
mariadb -u root -h 127.0.0.1 my_db_name < dump.sql. - WP shows installer again — wrong
$table_prefix.
Set it (e.g.$table_prefix = 'web_';) inwp-config.php. - Everything sleeps with screen off — run
termux-wake-lockand turn off battery optimizations for Termux / Termux:Boot. - External SSD not present on boot — add a 20–40s delay before launching Termux (MacroDroid), and add a short wait loop in
start.sh.
Expose Your Site from Anywhere (Optional)
- Reverse SSH via a cheap VPS:
ssh -R 8080:localhost:8080 user@YOUR_VPS, then proxy on the VPS. - Tunnels: ngrok / Cloudflare Tunnel if you don’t want a VPS.
That’s It
You now have a portable WordPress “micro-server” that boots itself, stays awake,
serves PHP via Nginx, stores media on USB SSD, and can be cached by Redis.
For production-grade external access, pair it with a tiny VPS as a reverse proxy.


)